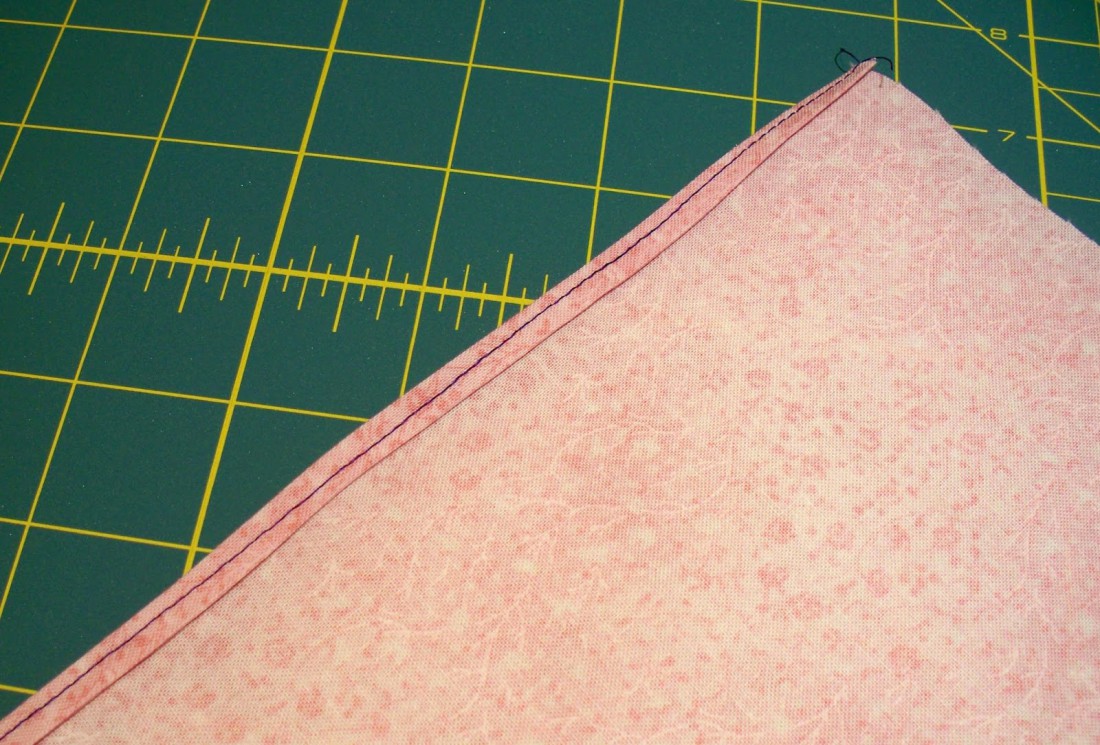
Step 2
2. Turn the short ends under twice, toward the wrong side, and stitch in place.
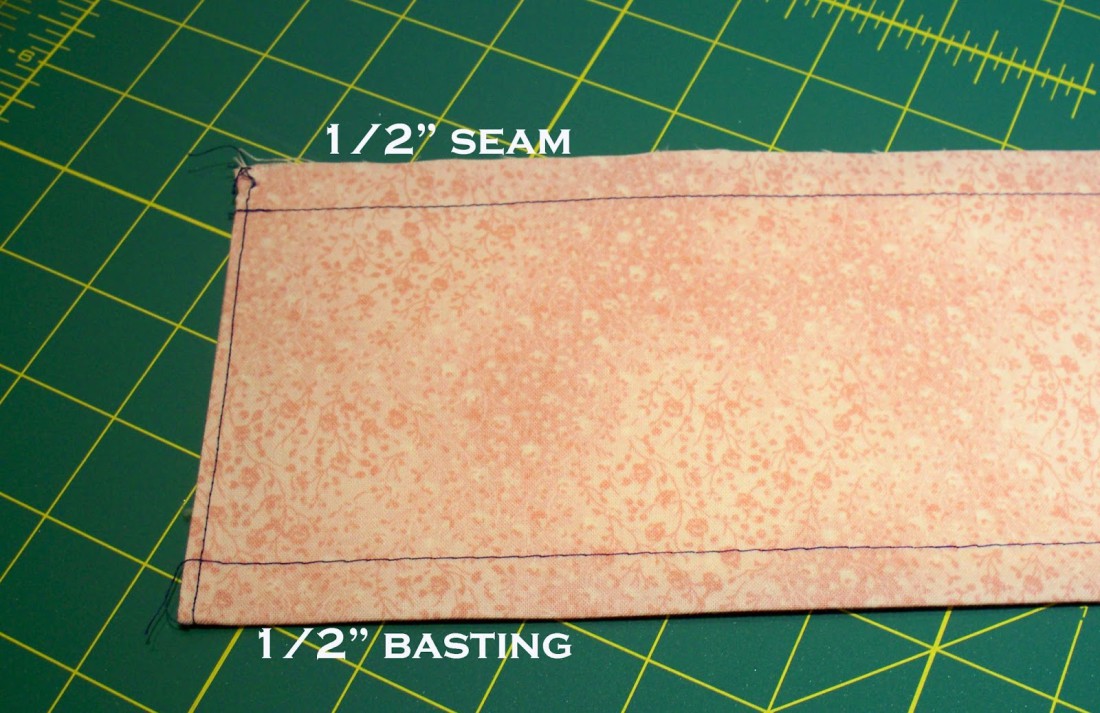
Steps 3 and 4
3. With the wrong sides together and the long raw edges lined up, stitch a half inch seam. Press. 4. Using a long basting stitch, baste along the other long edge ½” from the fold.
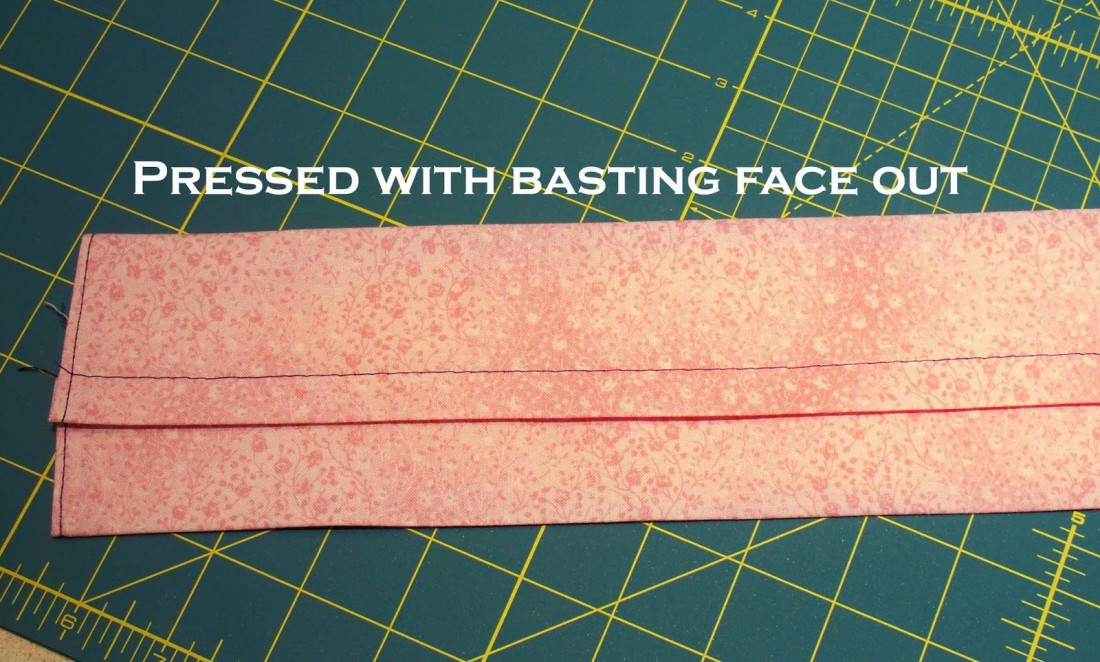
Step 5
5. Center and nest these seam allowances and press the sleeve flat.
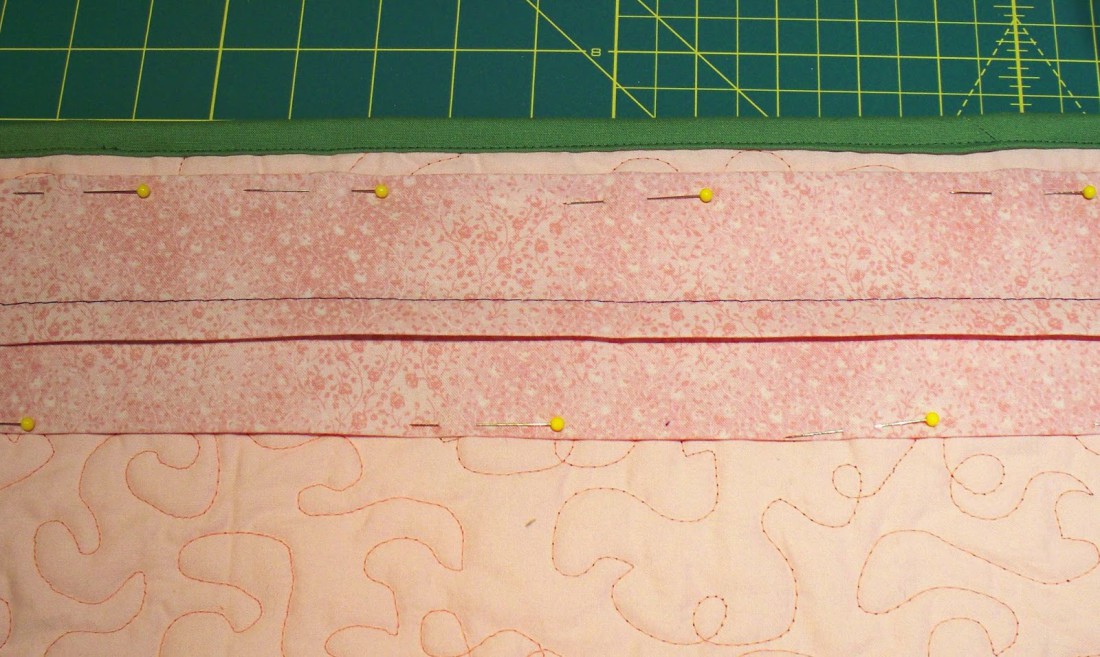
Step 6
6. Pin the sleeve to the quilt back at least ½” from the top edge of the quilt and with the basted seam facing out and the stitched seam against the back of the quilt.
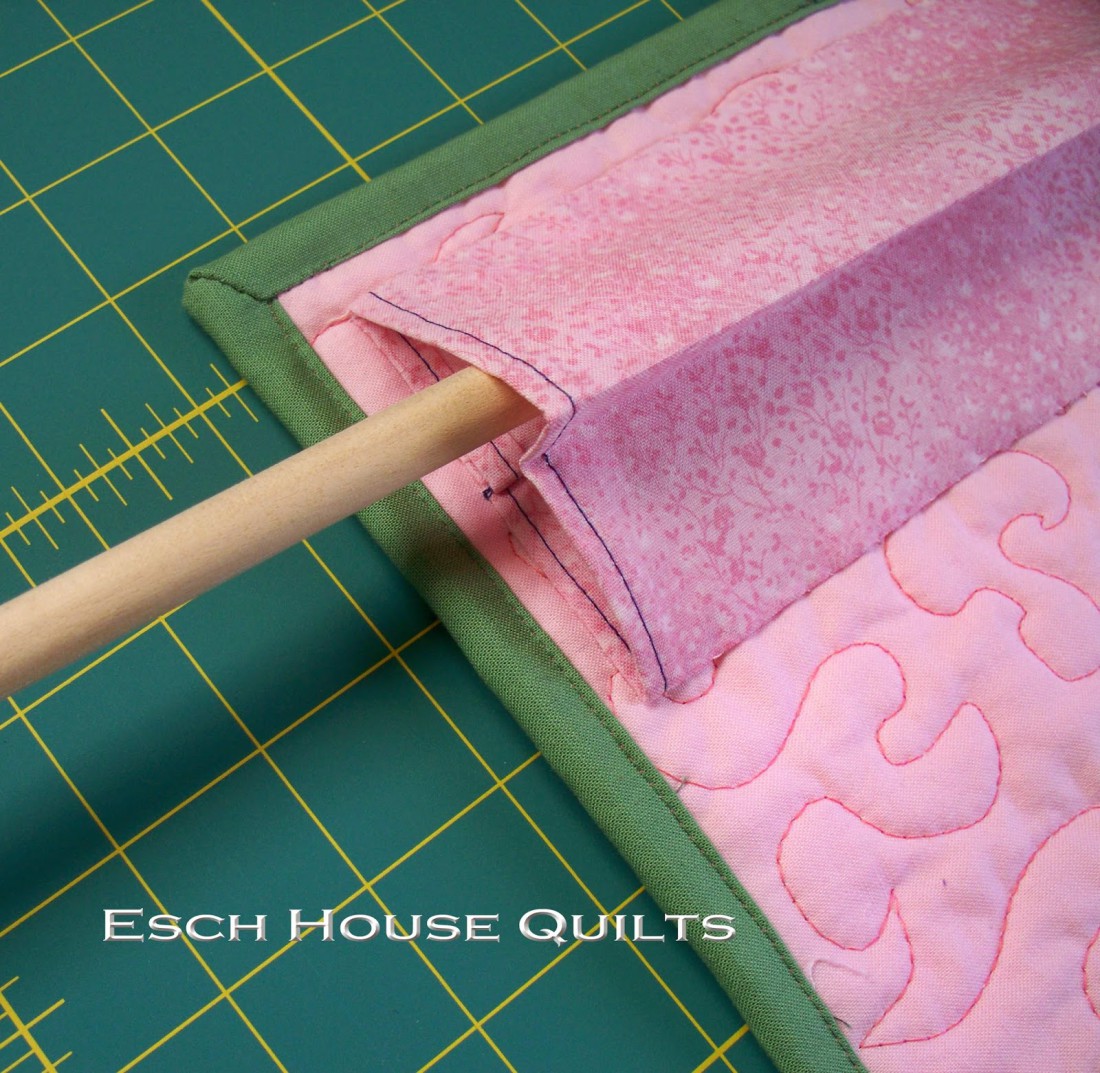
Steps 7 and 8
7. Hand sew along both long and both short edges, leaving an opening for the hanging rod.
8. Remove the basting stitches.